Now, as a child, I loved baking. Usually cookies. I would diligently follow recipes and add sugar, butter, flour, eggs, etc. and bake them for the allotted time, and they'd generally turn out okay. I'd hear people (on TV probably) talk about making things 'from scratch' and I thought that sounded Super Cool, and totally wanted to try it out someday. It wasn't until about junior high that I realized I HAD been making things 'from scratch' all along. I'm not sure what I thought people who followed the all-hallowed (in my eyes) From Scratch recipes did. I think I believed it had something to do with churning the butter and milling the flour. I was really into Little House on the Prairie.
Anyhow. I figured that since I was such a pro as a child at baking cookies that a double layer chocolate cake wouldn't be that hard for my full grown self. Armed with a recipe for Chocolate Layer Cake from Real Simple I gathered my ingredients and got to it!
 Ingredients. The wine, large bottle of whiskey and Lite Brite are all optional.
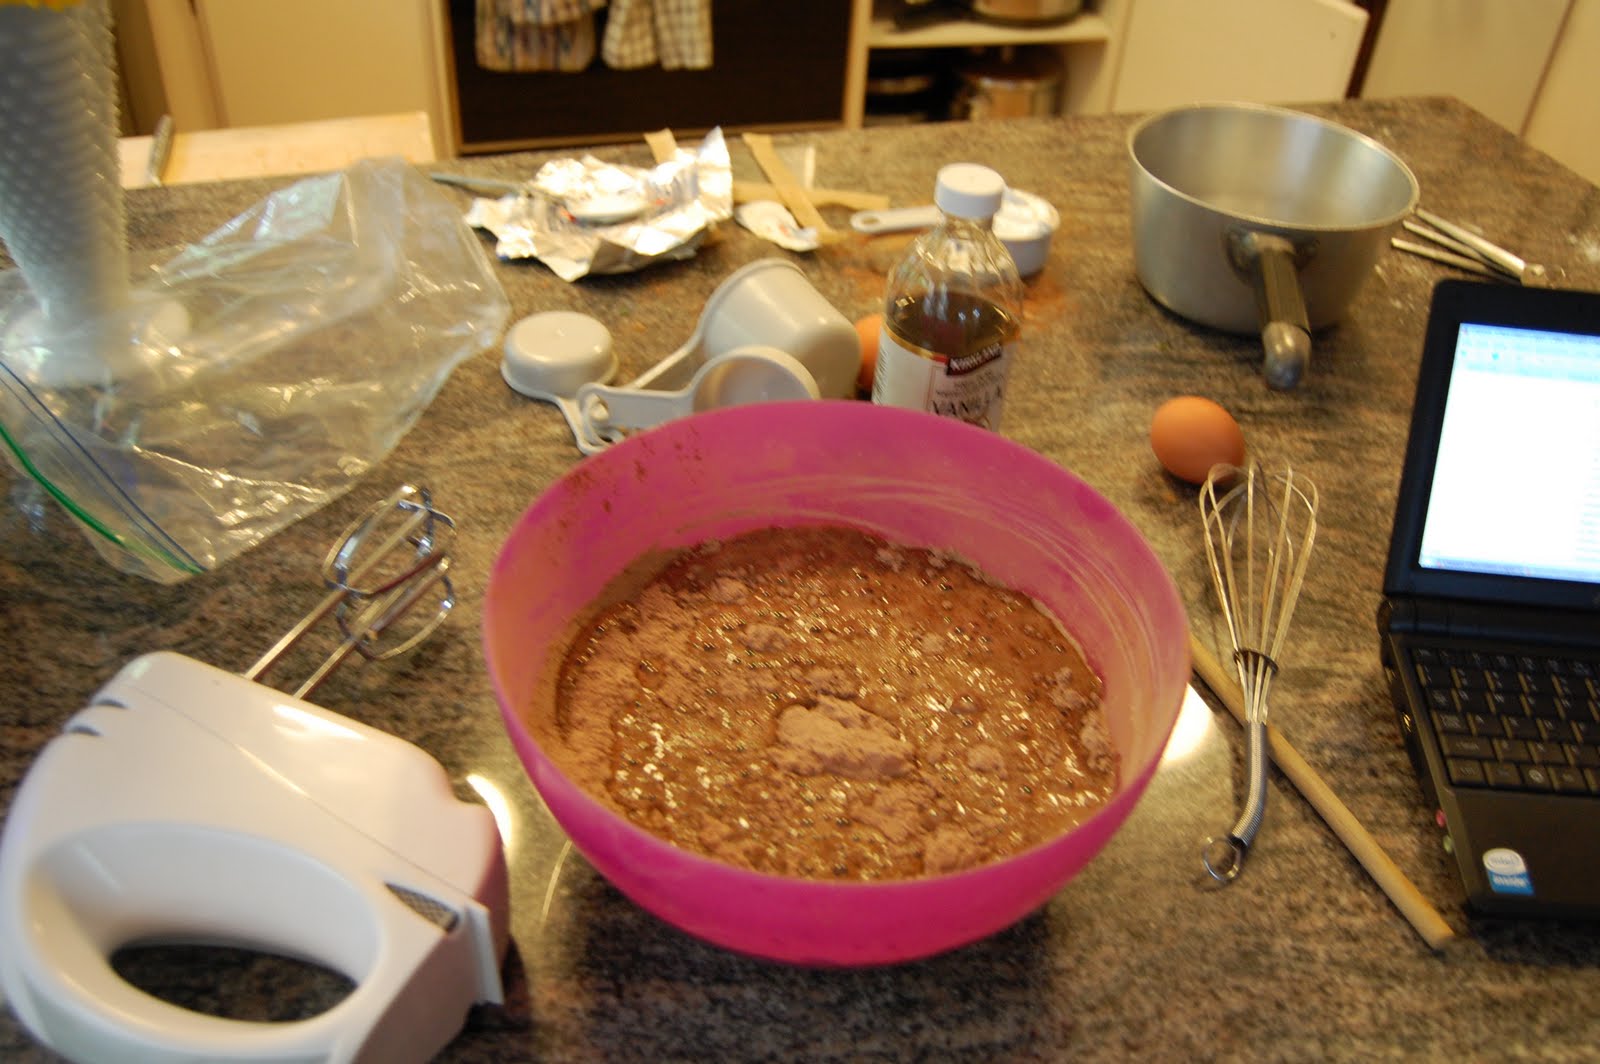 I melted my cup of butter, and added it to the sugar-flour-sugar-chocolate mixture (I didn't say this was a light cake!) Notice my handy-dandy netbook/cookbook on the side. I used my handheld blender to mix it all together and added the other wet ingredients. During which time I realized: 1. That I will indeed be registering for a standing mixer and 2. Why people wear aprons when they bake.
 I poured the batter into my two 9" diameter cake pans. You'll notice they are masquerading as a square cake pan and a glass pie dish. (Aaand, another item gets added to the registration list.) And in to the oven went the cakes. This is when the wine and Lite Brite come in handy - what else are you supposed to do while the house fills with the smell of chocolaty yummy-ness?
 After they're done baking, I got to feel all Ace of Cakes or Cake Challenge like and do some cake carving to get rid of that giant hump in the center. Also nice because I got a taste test!! Yum! But, this was also the part where I started to realize that maaaybe making a layer cake wasn't as easy as baking cookies.
 Nevertheless, I forged ahead. After some deliberation, I decided that the pie shaped cake would be the bottom layer. I frosted it, and added a secret message. It's supposed to say "B heart M" for Brenna and Marc. Yes, our initials also stand for bowel movement, which may be more what my secret message looks like! I cut off the corners of the square cake so it would fit on top of the pie cake. Thus making a hexagonal cake. Boo ya for geometry!
 There you go! Layer cake! Unfortunately, this is where things started to completely fall to pieces. In my mind, frosting the cake looked like fun. And easy. Fun and easy! Yay, let's go frost a layer cake! Not so much.
I don't have any pictures of the during part because I had frosting EVERYwhere. Except on the parts of the cake that were apparently made out of Polytetrafluoroethylene.
 It turned out okay in the end. Though the frosting is completely uneven, and there were still a few bare spots. I threw some chocolate chips on top to really throw it over the cliff of decadence nigh on into mortal sin zone.
Things I learned from this experience:
1. Aprons are your friends
2. Yes, I do spill sugar ALL over the floor when I cook, thus making the floor sticky (sorry Mom!)
3. You can't have too many cake pans
4. Certain things should be left to the professionals if you want it to look good! I can DIY a lot of things for the wedding - and I will. Cake (or any of its brethren - cupcakes, cookies, bonbons, etc.) should most definitely NOT be one of them.
5. Chocolate cake tastes good, even if it doesn't look good!
No comments:
Post a Comment